9 Basic Considerations Before you press The Shutter
When photographing landscapes, remember these 9 basic, yet vital considerations….
1. Be aware of light
Without good light you don’t have an image. Whilst certain subjects such as woodland, benefit from overcast lighting, others, particularly seascapes and wide landscape scenes require an element of light to give shape and form to the land. It’s worth noting which direction the light is coming from and if its not quite right, it may be a case of coming back another time, either earlier or later in the day to ensure your subject is best lit. Often, although it may turn cloudy, patience will reap rewards, so rather than give up, its worth waiting for the best light possible to illuminate your subject. Warm evening light and soft morning light tend to be more complimentary than the harsh light of midday, highlighting the various textures of the landscape before you, and creating shadows and definition.

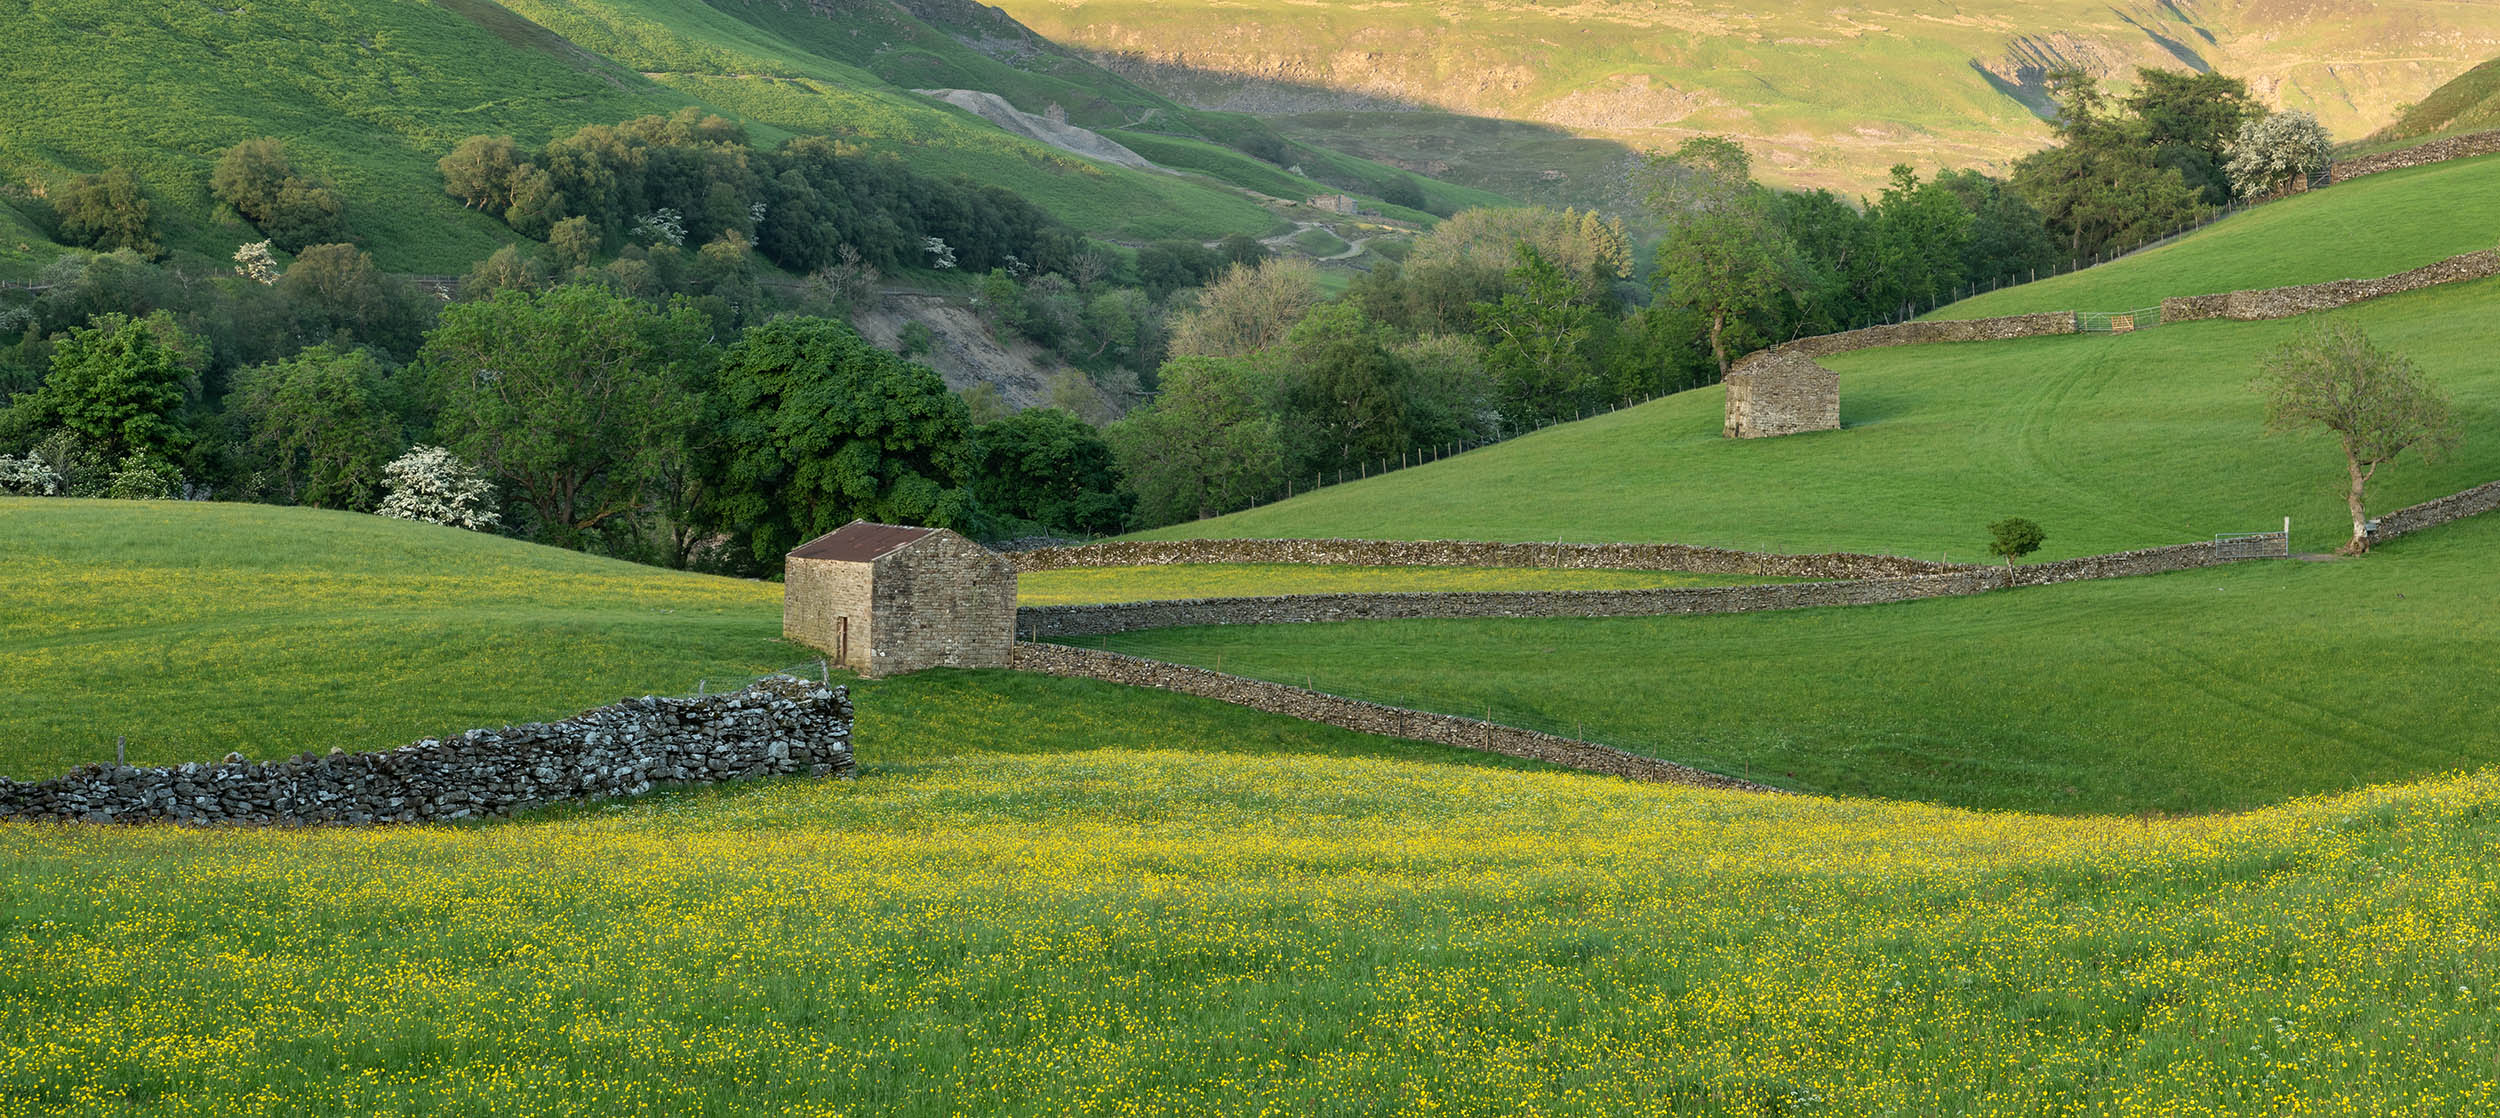
2. Composition
Getting your composition right is the first thing you should do before you even begin to think about the camera settings themselves. Take time to find this. Consider the angle from which you are shooting from, make use of foreground interest and leading lines, and remember to use the rule of thirds guideline. Check for patterns, shapes and symmetry and bear in mind colour. Once you have found your composition, look around the edge of the viewfinder and make sure that everything in the image plays a part.
Next….get in the habit of checking what settings are currently selected at the start of every photo shoot.
3. ISO
Usually for landscape photography you will be using a tripod, and as such camera shake is not an issue, therefore you will want to have the ISO as low as possible, i.e. 100 or 200 to ensure the best image quality, however it will also depend on the lighting conditions and your subject as to what ISO you choose. For low light photography you may need to up your ISO to achieve the shutter speed you desire, or to retain a certain aperture/depth of field.
4. Vibration reduction (image stabilisation)
Allows photographers to flip a switch on their lens and handhold their cameras in lower light conditions when using longer shutter speeds without the problem of camera shake. Make sure this is switched off if you are on a tripod to achieve sharper images. When there is no shake, or when the level of shake is below the threshold of the system’s detection capability, use of the IS feature may actually ‘add’ unwanted blur to the photograph, therefore you should shut it off in this situation.
5. Check your exposure compensation button
This allows you to adjust the exposure as indicated by the camera meter. It’s very easy to leave this on with the result that every image is either over, or under exposed – very annoying!! Make sure it’s set to zero before you start shooting.
6. Is the camera straight?
It sounds obvious but it’s easy to forget to check this and end up with wonky horizons or trees and buildings leaning over. If you are using a tripod a hot shoe spirit level is really handy, or otherwise you can use the gridline function, which many digital cameras have, to superimpose grid lines onto the viewfinder or LCD screen.
7. Check your aperture
8. Exposure
Make sure your highlight warning indicator is switched on. Some cameras will highlight areas of an image that have been burned out by overexposure thereby allowing you to adjust the exposure there and then and re-shoot. There is nothing worse than getting home to find, when reviewing them on your computer, that all your images are over-exposed.
9. Metering
Is your camera set on spot, centre weighted or Matrix/Evaluative?
Evaluative/Matrix metering is the “default” setting on most cameras. (The camera sets the metering automatically to suit the scene and subject of the photograph). The entire scene within the camera’s viewfinder is utilised to assess the appropriate metering. This is the mode to use when you’re not sure which mode the scene will require. Other options are:
Partial Metering(on Canon cameras), or Spot Metering (on Nikon cameras) – this type of metering is helpful for photographing back-lit subjects or if your subject is especially dark or light. The metering is weighted according to the very centre of the shot – a very small area of the frame. Use this mode when you have a very specific area of the photograph that you wish the exposure to be based upon.

Centre-weighted metering – this setting gives priority to the centre portion of the photograph, but also takes the surrounding portions of the shot into consideration. Basically, this is somewhere in between evaluative/matrix and partial/spot metering. Use this setting when the subject is in the centre of the photograph and exposed correctly, so that the subject is not affected by the exposure of the background.
10. Where are you going to focus?
This is something that is often forgotten! Check your focusing points – autofocus points are what the camera uses to focus on a subject.. Using automatic AF selection can work fine, but, with certain types of subjects, the camera can become confused as to where it is meant to be focusing. So, to be safe, it’s sometimes better to use manual AF selection. Manual AF selection often means that you can just select a single AF point, which will give you a precise area on which to focus. You may however still find that your focusing point isn’t where you want it to be so, to get around this, you either need to focus on what you want to be sharp and use your auto-focus lock or press the shutter half way down and then recompose your image, or otherwise manually focus.